Home » Kitchen & Bath » Tile Backsplash Cost: DIY Weekend Guide
Tile Backsplash Cost: DIY Weekend Guide
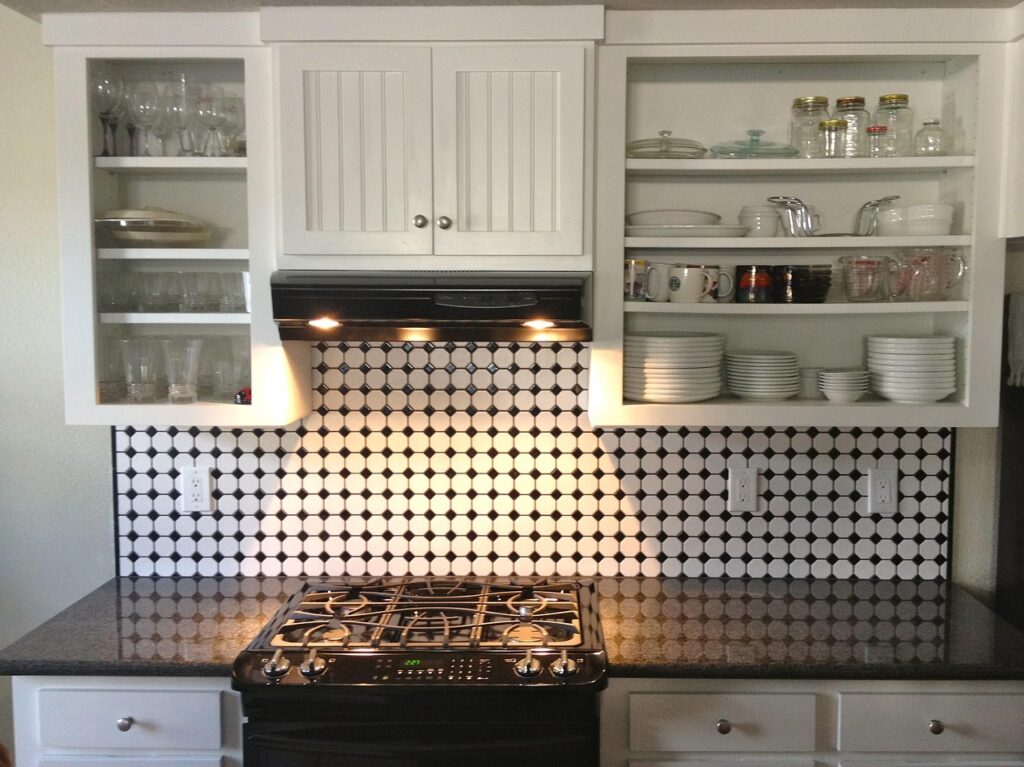
A 30-square-foot backsplash in subway tile costs $90-$240 in materials at $3-$8 per square foot, plus about $60 in tools and adhesive. A professional install runs $800-$1,500. This is the easiest tiling job in a house, and doing it yourself keeps roughly seventy percent of that money in your pocket.
The math
Measure length times height in inches and divide by 144 for square feet, then add ten percent for cuts. Subway tile is the cheapest at $2-$4 per square foot, while glass and natural stone run $8-$20. Adhesive, grout, spacers and a trowel add $40-$80. Renting a wet saw costs about $50 a day, though a manual snap cutter handles most subway tile for under $30.
Materials cost breakdown
| Item | Typical cost |
|---|---|
| Subway or ceramic tile | $2-$4 per sq ft |
| Porcelain tile | $3-$8 per sq ft |
| Glass mosaic | $8-$20 per sq ft |
| Natural stone | $8-$25 per sq ft |
| Thinset and grout | $30-$60 |
| Tools (trowel, spacers, float, nippers) | $40-$80 |
| Wet saw rental | $50 per day |
| Professional install | $800-$1,500 |
Choosing tile for a kitchen
Subway tile in 3×6 is the value pick: cheap, forgiving on uneven walls and easy to cut. Porcelain adds durability and a more modern look for a modest premium. Glass mosaic looks premium but needs a smooth wall, a special blade and careful grouting, so it suits a first-timer poorly. Whatever the material, buy one extra box for cuts and future repairs – dye lots rarely match later.
Tools you need
- Notched trowel sized to the tile, usually a 1/4 inch square notch for a backsplash.
- Tile spacers or leveling clips for even joints.
- A snap cutter for straight cuts, plus nippers for the awkward outlet corners.
- A rubber grout float, two buckets and a sponge for cleanup.
- Box extenders so electrical outlets sit flush with the new tile face.
Weekend schedule
Day one: degloss the painted wall with sandpaper and TSP, dry-fit the layout from the centre, then trowel thinset flat against the wall first to key it in before combing it. Day two: set the tile with consistent spacers, and cut around outlets using box extenders so the cover plate sits flush. Day three: grout, then caulk rather than grout the tub and counter joints.
Common mistakes
- Skipping the degloss, so thinset never bonds properly to glossy paint.
- Starting at a corner instead of the centre, which leaves ugly slivers at the visible edge.
- Grouting the tub joint, which cracks the first time the tub flexes.
- Grouting too early, before the thinset has cured underneath.
Grout, sealing and upkeep
Choose sanded grout for joints wider than an eighth of an inch and unsanded for tighter lines. Cement grout in a kitchen should be sealed once a year to resist grease, and epoxy grout never needs sealing at all for around twice the price. Wipe spills promptly, since grout stains set within minutes in a working kitchen.
DIY versus professional
Materials and tools land near $200 for a typical 30-square-foot wall, while a pro charges $800-$1,500 and the difference is almost entirely labour. Call a professional if the wall is badly bowed, the tile is large-format and needs leveling clips, or the backsplash must be finished before a countertop template is taken.
FAQ
- Can I tile over existing tile? Yes, with a bonding primer and a rough scuff, though it raises the wall height.
- Do I need to seal the grout? Seal cement grout in wet zones and all natural stone.
- How soon can I use the kitchen? Twenty-four hours for grout, seventy-two before heavy cleaning.
- Snap cutter or wet saw? A snap cutter for subway tile, a wet saw for porcelain and glass.
Related reading: what a kitchen remodel costs and bathroom repair costs.